
Solar Camera Setup Guide
Everything you need to get your solar-powered camera up, online and recording — step by step.

In the box
- 1 × Solar Panel
- 1 × Set of Mounts
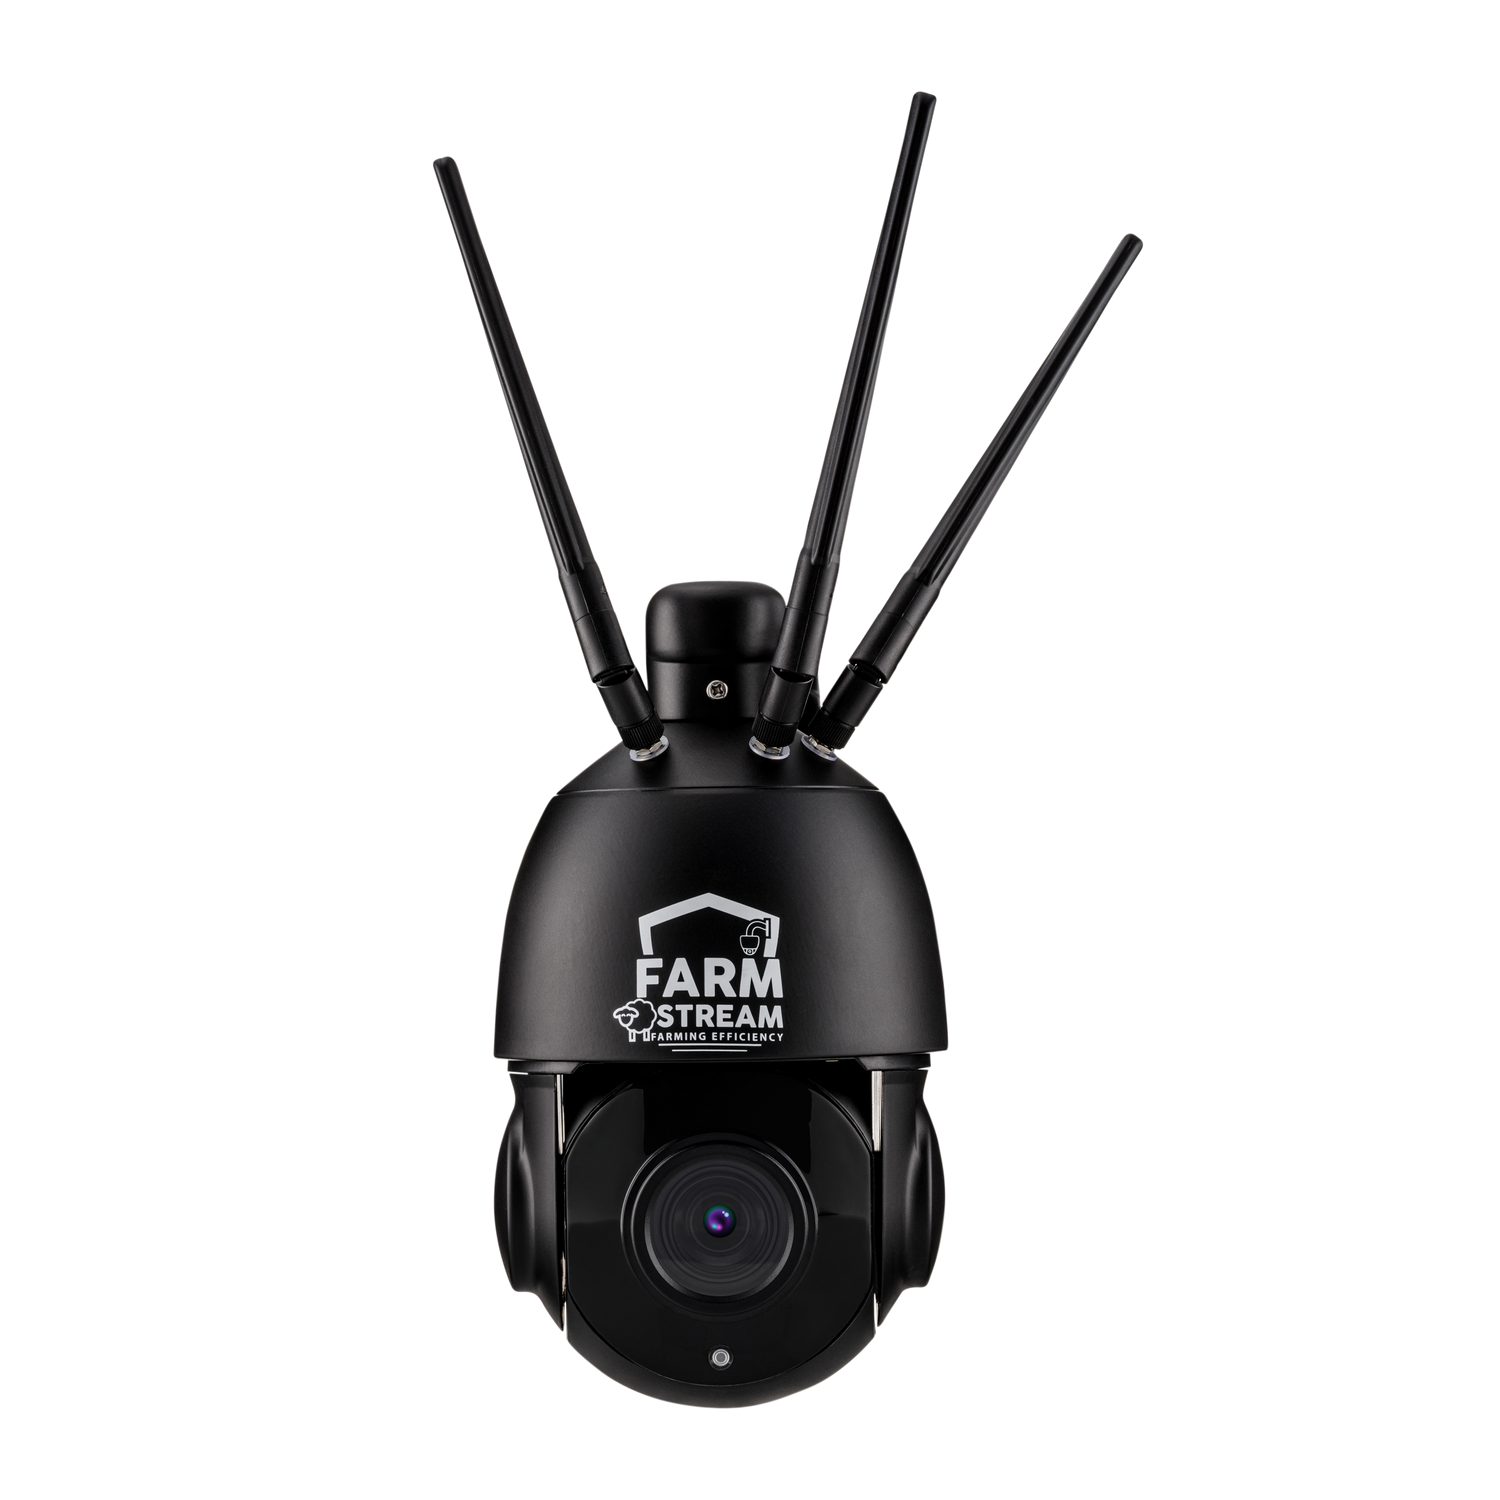
- 1 × Farmstream Solar Mini
- 1 × Extension Cable
- 1 × Screwdriver
- 1 × Farmstream SIM Card (preinstalled)
- 1 × 64GB SD Card (preinstalled)
Getting started
Activate your SIM card
- Go to www.farmstream.co.uk/data
- Use your 4-letter activation code to identify your SIM card.
- Select which plan you want to use, along with your payment plan and payment method.
Turn the camera on & plug in the solar panel
- Locate the cable with a plastic cap on it.
- Take the cap off and flip the switch to ON.
- Put the cap back on to keep the button sealed — this may take a decent amount of force.
- Plug the solar panel into the power cable socket.
- Push the cables into the mount to keep them secure.


Mount the camera and solar panel
The camera can be mounted with screws onto a flat surface or, using one of our separate mounts, onto a corner or pole as well.
To mount the solar panel, put the arms together as shown below and slide the panel into the mount. Attach it to a south-facing wall at a 60-degree upward angle, and make sure the panel faces as far south as possible.

Add the camera to your app
- On your phone, open the App Store / Google Play and download the free app CamHiPro.

- Once downloaded, open CamHiPro and give it full permissions.
- Tap the plus icon and select 4G camera.

- Scan the QR code on the camera. If you have trouble, press skip and type the serial number in manually.

- Check the connection light on the front of the camera is blue and steady. If it isn’t steady, or it’s red, go to the troubleshooting section below.
- Tick the box and hit next step.

- The camera should come online after roughly a minute — tap on it once it appears online.
- It will prompt you to change the password for security. Tap yes and set a new password.
Insert your own SIM or SD card
Your camera comes with a 64GB SD card pre-installed, which can be upgraded to up to 256GB. We recommend using a genuine SanDisk card to avoid potential issues.
The camera is also unlocked and should support any major UK carrier if you choose not to use the built-in Farmstream SIM. Some carriers may require the APN to be updated if it doesn’t work straight away (see the APN steps in Troubleshooting below).
- Open the access panel below the camera head.
- Insert the SIM card and/or SD card as shown. When inserted correctly, each one gently clicks into place.
- Once done, close the access panel back up.
Set it up your way
Now the camera is set up, here are a couple of things you may want to adjust.
Time settings
- Open settings on the camera.
- Scroll down and open Time Setting.
- Don’t sync with phone time — instead tap Device Time Zone and select “GMT+0:00 Europe/Dublin”.
- Turn daylight saving time on.
- Hit the blue “Saving Time Zone for Device” button.
Recording settings
- Open settings on the camera.
- Scroll down and open TF card plan recording.
- Make sure Enable record is turned on.
- Here you can choose the quality of recordings and the length of each recording.
- To record only on certain days or within certain times, select advanced setting and highlight the times you want to record within.
Troubleshooting
QR code not scanning
If the QR code on the camera won’t scan, follow these steps instead.
- Tap the “skip” button at the bottom of the screen.
- Type the camera’s serial number into the UID box (found under the QR code on the camera).
- Continue from the connection-light step above.
Blue light not on
If the blue light isn’t on, or the camera says “4G connection not successful”, work through the steps below.
Using the Farmstream SIM
- Farmstream SIMs usually come online within about 5 minutes, but can occasionally take up to 24 hours to activate.
- Give it some time, then power the camera off and on again (a power cycle).
- If you still don’t get a blue light, try the camera outside in an area with known good signal — it’s usually a signal issue rather than a fault.
Using your own SIM (APN settings)
Only needed if you’ve fitted your own SIM card — you can ignore this if you’re using the Farmstream SIM. If your own SIM won’t connect, the camera may need its APN settings updated.
- Follow the steps to add the camera to the app.
- When you reach the screen asking about the blue light, tap the red text at the bottom that reads “When the red indicator and blue indicator flash alternately, click here”.
- Hit the Setting of APN button.
- Find the APN settings for your SIM card and enter them into the boxes on screen.
- Reset the camera, then follow the instructions and point the camera at the QR code on the phone.
- Once you hear a few beeps, the camera has updated the APN settings.
- Wait a few minutes and check whether the blue light has come on.
- If yes, continue setup as normal. If not, it’s likely a signal issue — try moving the camera to an area with better signal and run setup again.